
I'd like to introduce how you can decorate a crochet figure without embroidery.
You will need:
- fleece, roving or top in some colours (black, white, yellow and brown)
- needle felting needles
- crocheted or knitted figure (this time it is an owl)
- scissors

1. Cut 2 small pieces from black roving and make two little balls from it. Must be the same size as the eyes.

2. Position the eyes and push the needle lots of times till the roving is felted. Be careful so that it must stay round shape and not to be moved.

3. Make the other eye the same way.


4. Cut 2 strips from white roving exactly the same size what fits around the black eye.

5. Start the felting process again from the center to the edges. Be careful not to cross the black parts and keep the round shape.
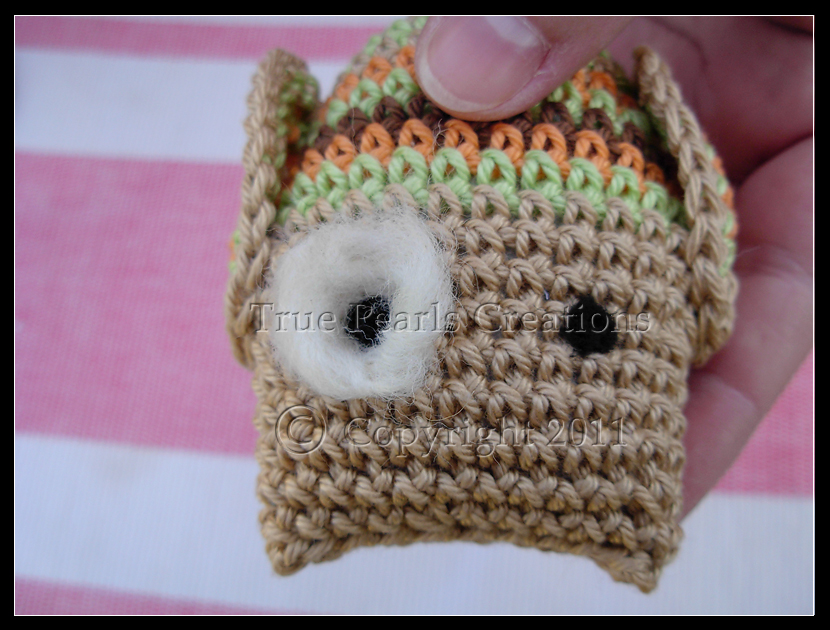
6. Keep felting until the whole is getting felted.

7. If you feel the white part is too small or you can see through the crochet stitches, add some more white roving and felt.

8. Make the other eye too. If needed, correct both eyes to be the same size.

9. Cut a small piece from the yellow roving. Make a small ball and position between the eyes and felt in triangle shape.

10. At the end cut 2 stripes from brown roving, put above the eyes and felt. You can decorate it more till your imagination goes....

Before you start pay attention to this:
Be careful not to injury your fingers when doing felting.
If you would buy the owl pattern please email me! Thank you!
Happy needle felting!
This tutorial is an original tutorial by Adrienn of TruePearlsCreations (April 2011). Please do not claim this tutorial as your own. If you wish to share this tutorial, you must link my blog.
The tutorial only for NON COMMERCIAL USE.
Sale or non authorized commercial distribution in any form is prohibited.
Thank you!
Sale or non authorized commercial distribution in any form is prohibited.
0 comments:
Post a Comment